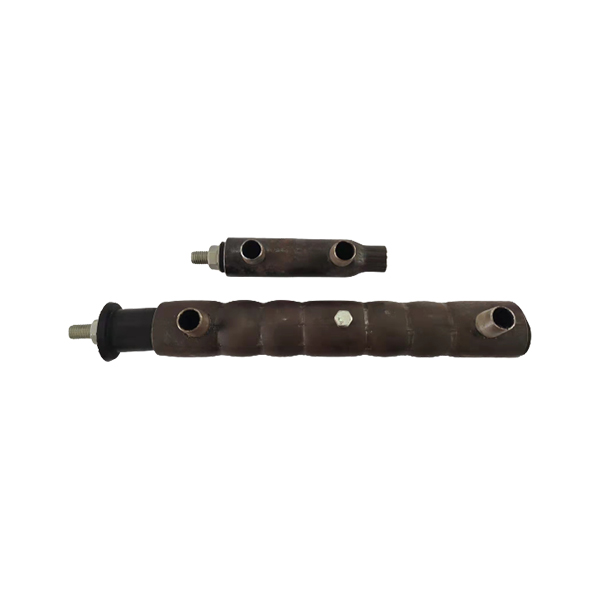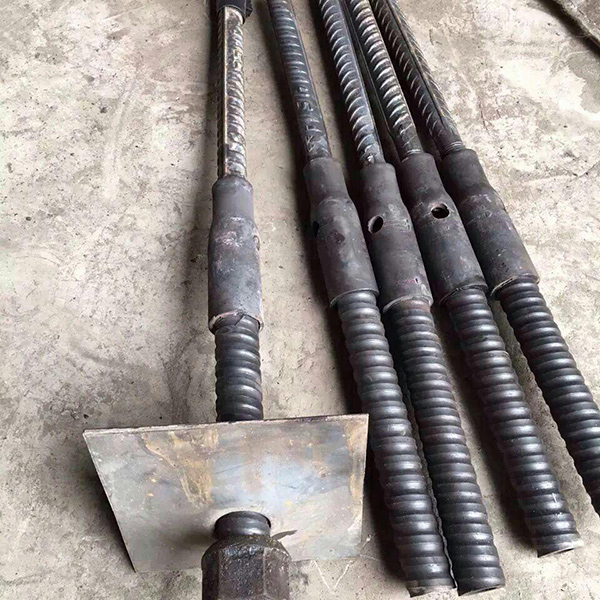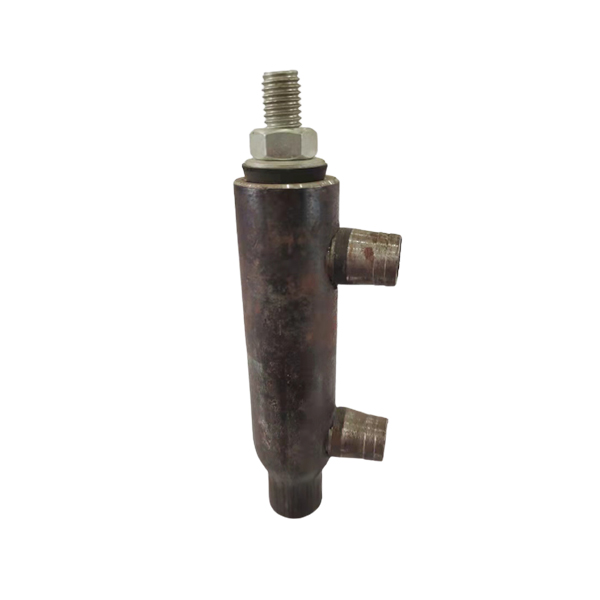

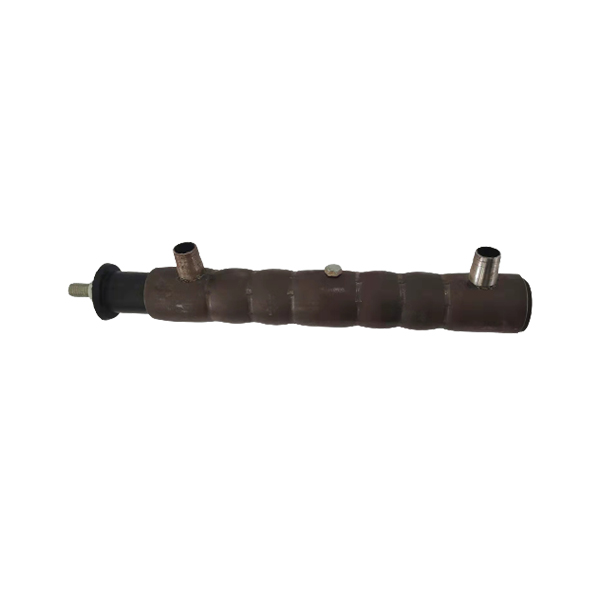
High Quality Grouting sleeve
Key techniques for installing prefabricated components
(1) It is particularly important to measure and control the installation quality of prefabricated wall panels. It is necessary to do a good job of positioning and wiring before lifting and strictly control the accuracy.
(2) check the accuracy of the position of the positioning bar before installation, and the rust of the steel bar should be finished before lifting, so as to ensure that the wall panel can be accurately and quickly positioned.
(3) A 1cm groove is reserved for the connection between the bottom of the precast member and the floor to facilitate the grouting of the cavity after the fixed member and lifting.
Prefabricated wallboard positioning and installation process
1. Measurement correction
(1) the theodolite is installed on the board and installed on the center line, using the theodolite will adjust the center line on the wall panel and the center line on the floor in the same plane.
(2) Use the vertical ball and 500mm control line to accurately position the external wall, and control the verticality of the wall panel to meet the requirements of the specification.
(3) Wall panel installation precision fine tuning.
2. Grassroots treatment
Before grouting, the components should be cleaned up in contact with the grouting material to ensure that there is no ash, no oil, no water, that is, the contact part between the bottom of the floor and the wall plate and the grouting material should be cleaned up, so as not to affect the steel bar connection after grouting.
3. Grouting cavity seal
According to the component and site construction conditions, appropriate joint treatment method is adopted to seal the grouting cavity to ensure that joint mortar will not flow out. In the project, 1:2.5 waterproof cement mortar was used to seal the gap edge between the wall panel and the floor of the sleeve grouting cavity. Remove the grouting and drainage pipe on the component and seal the hole to make sure it is clean and free of sundries.
4. Preparation for grouting construction
Prepare containers, mixing tools, weighing instruments, joint grouting materials and mixing water.
5 Prepare grouting material
Special qualified grouting material should be used, and the mixing quantity of each grouting material should be determined strictly according to the initial setting time and grouting speed of the grouting material, so as to ensure the one-time completion of each grouting division and avoid the waste of grouting material. The proportion of grouting material and mixing time shall be carried out according to the product instructions provided by the manufacturer. Weigh the specified proportion of water according to the amount of grouting material and mix the mortar evenly with mixing tools.
6 check the joint slurry
Check the fluidity and bleeding of mortar, if normal, wait for 2-3min, so that the bubbles in the sand naturally discharged.
7 Grouting division
The reinforcement wall panels shall be cut off and accumulated according to the wall panels before hoisting, and the grouting area shall be divided according to the design zoning drawing. It is necessary to ensure that each grouting area is closed around and in close contact with the floor and wall.
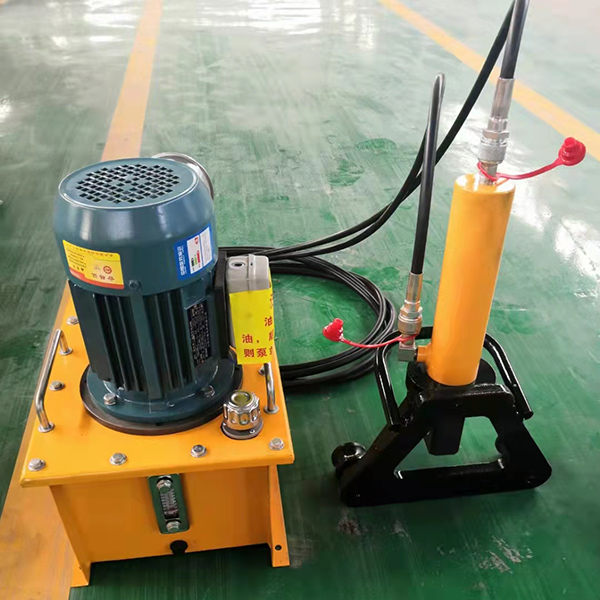
8 Grouting from the grouting hole to the sleeve
Special grouting equipment and pressure grouting method are used for joint grouting. Note that mortar should be calculated from the time of mixing with water. In the specified time, a grouting unit can only be injected from one grouting mouth, not from multiple grouting mouths at the same time.
9. Block up grouting and drainage holes
After the mortar flows out of the sleeve grouting hole, it should be blocked immediately. For example, when grouting multiple joints at a time, the grouting or grouting hole that has been discharged cement mortar should be blocked successively until the grouting of all joints is blocked.
10 final inspection
After confirming that all joints have been grouting, the joint grouting connection of one component is completed.
11 Specimen Test
Sleeve connection and grouting construction is the key point in the project. While completing the acceptance of relevant procedures on site, it is necessary to make sleeve connection specimens and grouting material test blocks, do maintenance according to the test requirements, and send them to the laboratory for relevant tensile and compressive tests after reaching the corresponding age.
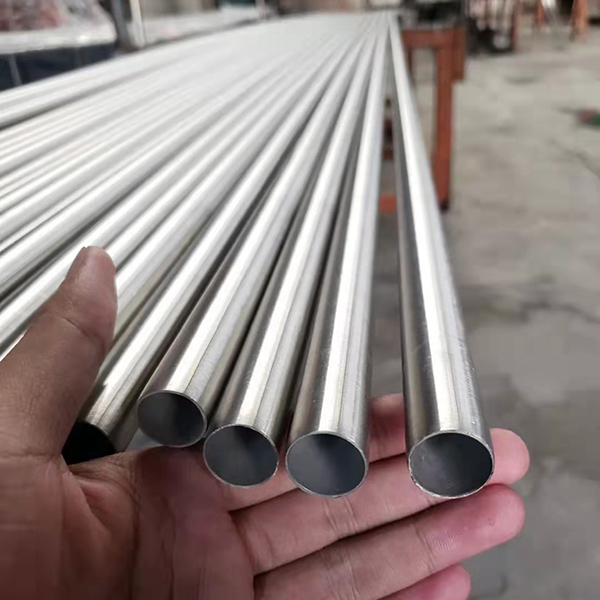
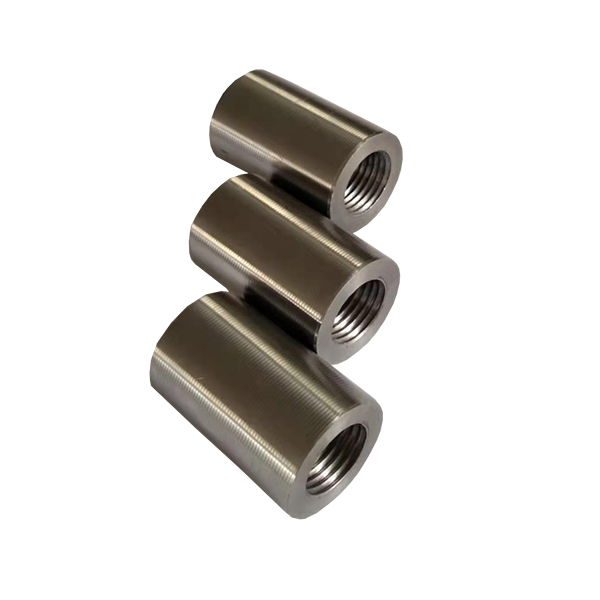
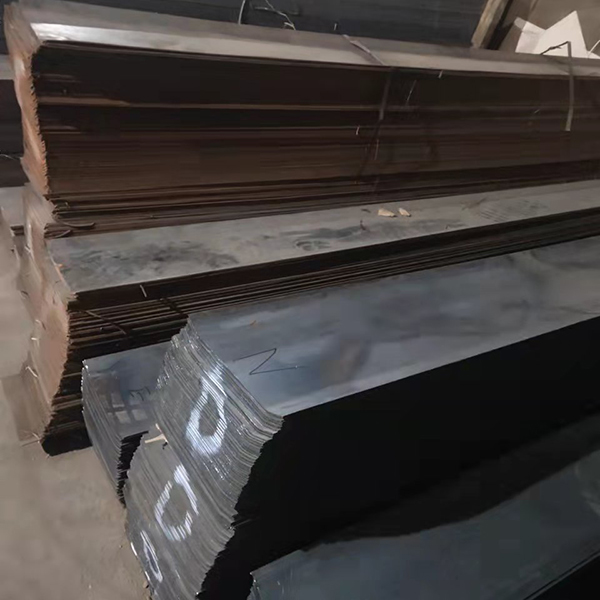
Product Display